

If you are searching for how to change proxy settings on firefox with simple steps. You are at right place follow this simple tutorial and change proxy settings.

Changing Proxy Settings in Firefox Browser
There are many reason to change proxy setting in browser. For example when you want to unblock websites in your country or schools and offices. Which are blocked by your country ISP. Or you want to secure your internet connection and protect your privacy online. By changing proxy you can surf website with high speed.
Learn How To Change Proxy Settings On Firefox
Below are simple steps. Just follow these and you can edit proxy settings in Mozilla.
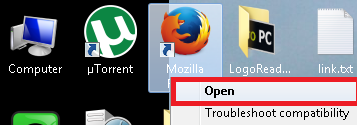
Step # 1: Open Mozilla Firefox BrowserThe first step is to open Mozilla firefox web browser. Double click on desktop Mozilla firefox.
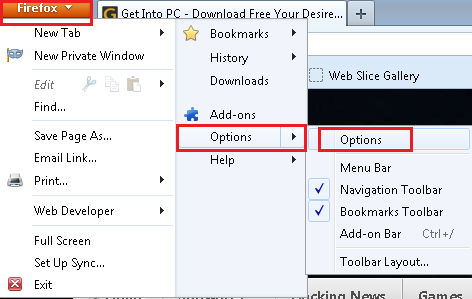
Step # 2 Click on Firefox Drop Down Button
After open Mozilla firefox. The second step is click on firefox drop down button which is on top left side. and then click on options as per shown in below screenshot.
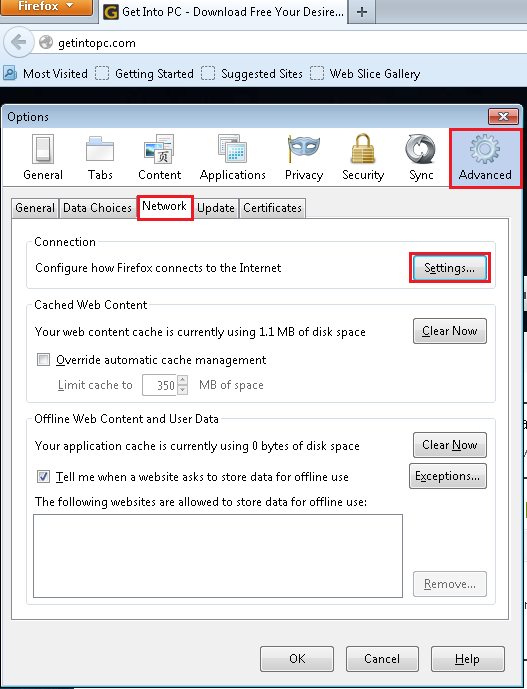
Step # 3 Change Setting
When you will done step 2. Then a setting dialog box will appear. Click on advanced and select network and then click settings.
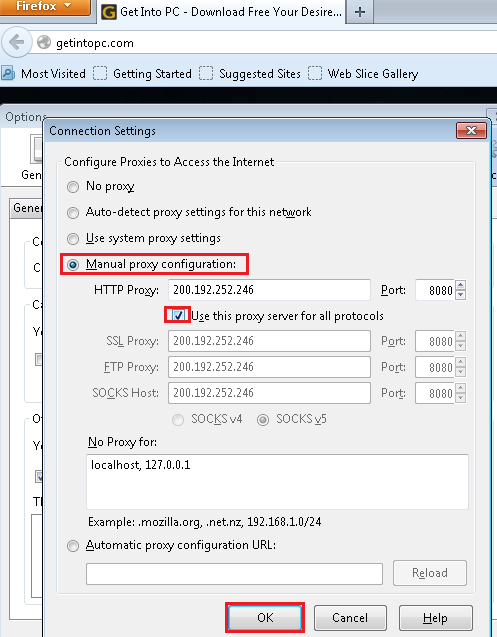
Step # 4 Enter a Valid IP Address With Port
Now you are at step 4 so click on manual proxy configuration. Enter a valid working proxy with correct port. Then click on use this proxy server for all protocols. Click OK to Apply the settings and then again Press OK to close Mozilla Properties options. You can test if Changed Proxy Worked Open Mozilla firefox and open websites. If proxy change in Firefox is successful Websites will be opened but your IP will be changed.
How To Disable Firefox Proxy
Now if you want to revert changes. I mean if you want to surf websites without any proxy. Then follow the above same Tutorial. Below is the screenshot for your ease.

Click on no proxy and then click OK button.
0 comments:
Post a Comment